
Threading is one of the most precise, chemical-free methods for shaping eyebrows and removing unwanted facial hair. Because it pulls hairs directly from the follicle using a twisted cotton thread, proper skin preparation is the secret to a fast, clean, and virtually pain-free session.
Preparing your skin reduces redness, prevents post-treatment breakouts, and ensures the technician’s thread grips even the finest hairs smoothly.
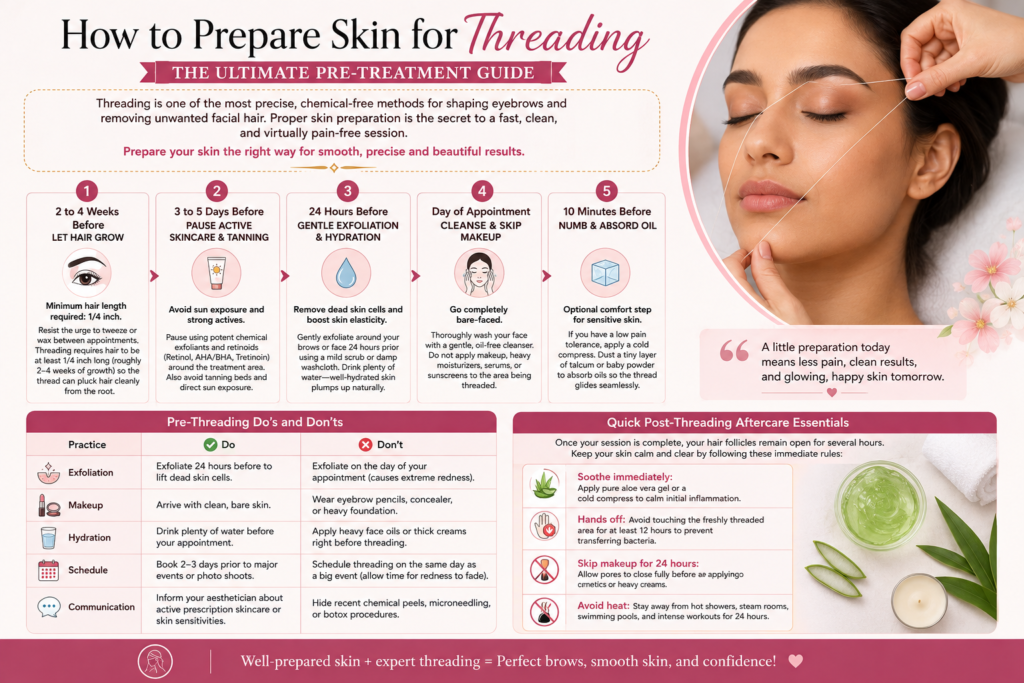
The Step-by-Step Preparation Timeline
1. 2 to 4 Weeks Before: Let Hair Grow:
Minimum hair length required: 1/4 inch.
Resist the urge to tweeze or wax between appointments. Threading requires hair to be at least 1/4 inch long (roughly 2–4 weeks of growth) so the cotton thread can loop and pluck hair cleanly from the root without snapping it.
2. 3 to 5 Days Before: Pause Active Skincare & Tanning:
Avoid sun exposure and strong actives.Pause using potent chemical exfoliants and retinoids (Retinol, AHA/BHA, Tretinoin) around the treatment area. Also avoid tanning beds and direct sun exposure. These make your skin overly sensitive and prone to tearing or peeling during threading.
3. 24 Hours Before: Gentle Exfoliation & Hydration:
Remove dead skin cells and boost skin elasticity.Gently exfoliate around your brows or face 24 hours prior using a mild scrub or damp washcloth.This frees trapped fine hairs and prevents ingrowns. Drink plenty of water—well-hydrated skin plumps up naturally, reducing friction and discomfort during plucking.
4. Day of Appointment – Cleanse & Skip Makeup:
Go completely bare-faced.
Thoroughly wash your face with a gentle, oil-free cleanser. Do not apply makeup, heavy moisturizers, serums, or sunscreens to the area being threaded. Foundation or brow pencils create slippery residue that prevents the thread from gripping hair properly and can clog open pores post-procedure.
5. 10 Minutes Before: Numb & Absorb Oil:
Optional comfort step for sensitive skin.
If you have a low pain tolerance, press a cold compress or ice cube wrapped in a clean cloth against the area to dull pain receptors. Dust a tiny layer of talcum or baby powder over the skin to absorb residual oils and moisture so the thread glides seamlessly.
Pre-Threading Do’s and Don’ts
| Practice | Do | Don’t |
| Exfoliation | Exfoliate 24 hours before to lift dead skin cells. | Exfoliate on the day of your appointment (causes extreme redness). |
| Makeup | Arrive with clean, bare skin. | Wear eyebrow pencils, concealer, or heavy foundation. |
| Hydration | Drink plenty of water before your appointment. | Apply heavy face oils or thick creams right before threading. |
| Schedule | Book 2–3 days prior to major events or photo shoots. | Schedule threading on the same day as a big event (allow time for redness to fade). |
| Communication | Inform your aesthetician about active prescription skincare or skin sensitivities. | Hide recent chemical peels, microneedling, or botox procedures. |
Quick Post-Threading Aftercare Essentials
Once your session is complete, your hair follicles remain open for several hours. Keep your skin calm and clear by following these immediate rules:
- Soothe immediately: Apply pure aloe vera gel or a cold compress to calm initial inflammation.
- Hands off: Avoid touching the freshly threaded area for at least 12 hours to prevent transferring bacteria.
- Skip makeup for 24 hours: Allow pores to close fully before applying cosmetics or heavy creams.
- Avoid heat: Stay away from hot showers, steam rooms, swimming pools, and intense workouts for 24 hours.